RTA Cabinet Assembly Instructions
Your cabinets are ready. Let’s get them built. Find your cabinet’s instructions, watch Patrick’s full walkthrough, or jump straight to a cabinet-specific video.
I know my cabinet code
Go straight to the printable step-by-step PDF for your exact cabinet.
I want to watch Patrick build one
The complete walkthrough: lay out the parts → assembled box → drawer → door.
I need help with a specific cabinet
Nine short videos for the trickier boxes — sink base, blind corner, lazy susan and more.
Before You Start
Every BluePrint ready-to-assemble kitchen cabinet and vanity ships flat with all hardware included. Watch a video walkthrough, or open the step-by-step PDF for your exact cabinet code.
Just received your order? Delivery day, inspecting your shipment, unloading tips, care and warranty are all covered here: What to expect after you order and unpacking your order.
Watch Patrick Assemble a Base Cabinet From Start to Finish
The full build in one video — laying everything out, the assembled box, the drawer and the door. Use the chapter list to jump straight to the part you’re on.
Jump to a chapter
What you'll see
- Preparing the face frame
- Installing the cabinet sides
- Installing the bottom
- Installing the back
- Pin nailing
- L-brackets
- Drawer assembly
- Drawer slides
- Door and hinges
- Shelf and toe kick
- Touch-up
Prefer written instructions? Jump to the step-by-step guide ↓
Thinking about renovating your kitchen without blowing your budget? Ready-to-assemble (RTA) cabinets from BluePrint Cabinets make it possible to get a beautiful, professional-looking kitchen while saving tens of thousands of dollars compared to having cabinets custom-built and installed. Best of all, you don’t need to be a professional contractor to put them together.
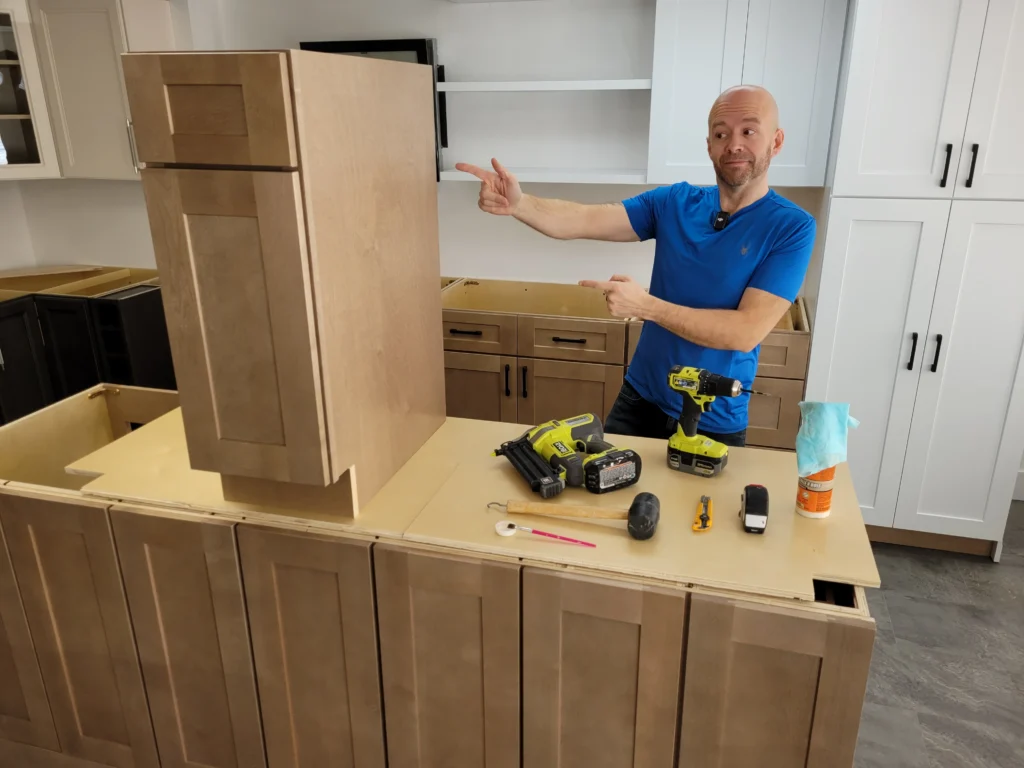
In this guide, BluePrint Cabinets co-founder Pat walks us through the complete process of assembling a base 12-inch cabinet from start to finish — from unboxing to installing the door and drawer. Follow along and you’ll be building your own kitchen cabinets in no time.
Just had your order dropped off? Read what to expect after you order — delivery day, inspecting your shipment, unloading tips, care and warranty — before you start assembling.
More Short Videos From Our Crew
Start here — our own crew walks you through the tools you need, a full cabinet build start to finish, and drawer hardware.
Tools You'll Need
Full DIY Cabinet Assembly
Installing Drawer Hardware
How BluePrint Cabinet Boxes Work
B Box — Universal
The carcass: AA-grade plywood sides, back panel, cabinet bottom, toe kick, shelf, drawer box, drawer slides and the full hardware kit.
A Box — Finish
The parts you see: face frame, door, drawer front with pre-cut dovetails, and any finished end panels for your chosen style.
With the exception of specialty cabinets, most BluePrint cabinets are made up of two boxes:
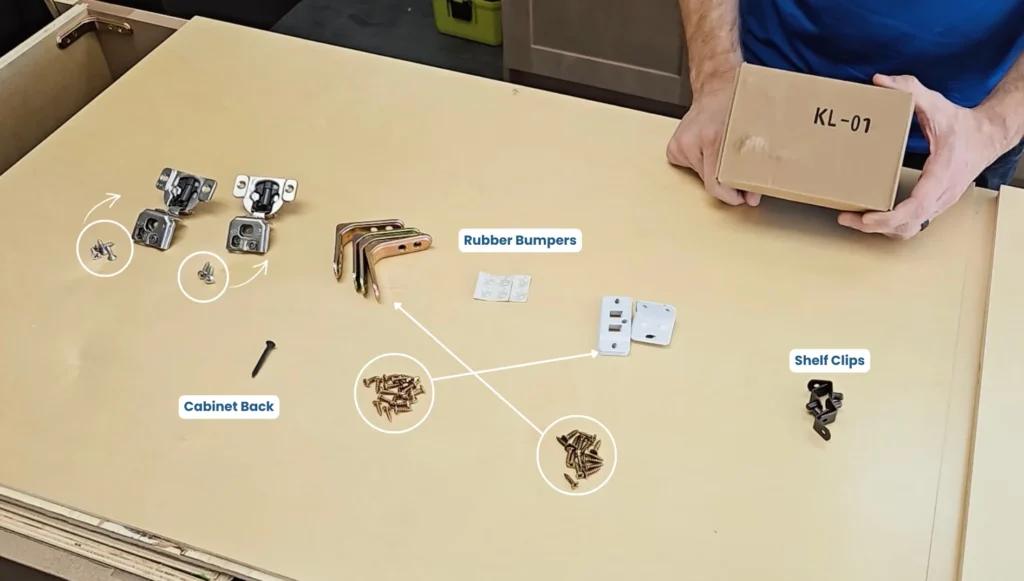
- Universal (Uni) Box — The carcass: AA-grade plywood sides, back panel, cabinet bottom, toe kick, shelf, drawer box, drawer slides, and a full hardware kit (hinges, L-brackets, screws, bumpers).
- Finish (A) Box — The visible parts for your chosen style: face frame, door, drawer front with pre-cut dovetails, and any finished end panels.
Pro tip: Sorting through the hardware kit before assembly is one of the best time-savers. Even if your helper isn’t handy, having them sort parts will reduce assembly time.
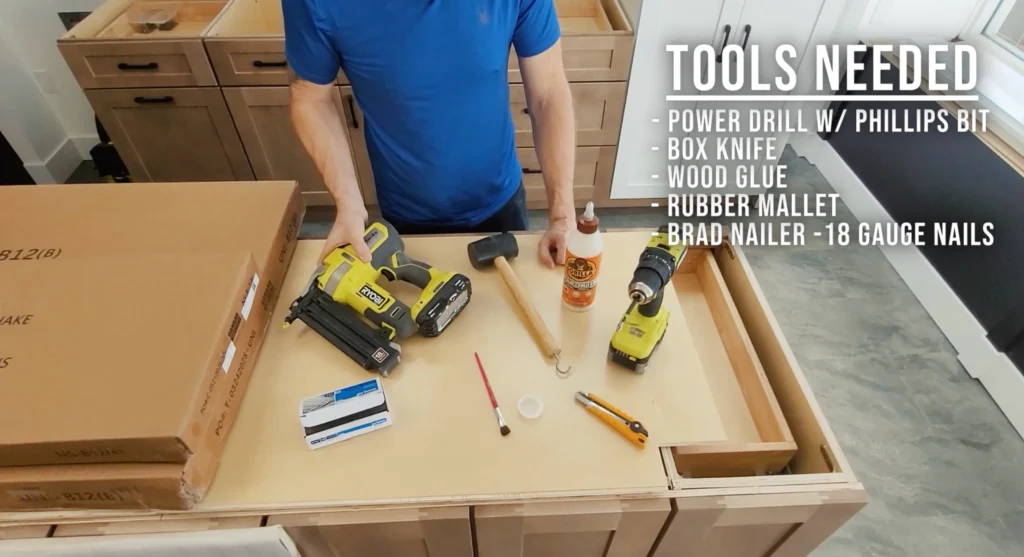
What You’ll Need: Tools & Materials
- Drill + Phillips bit
- Utility knife
- Wood glue (Gorilla Glue or similar) + small brush
- Rubber mallet
- Pin nailer — 18-gauge brad, air or electric
- 1¼" 18-gauge brad nails
- Damp rag for wiping excess glue
- Colour-matched touch-up kit (included)
The pin nailer is the one tool most homeowners might not already own, but they’re widely available at hardware stores for around $150. Both air-powered and electric models work fine — just look for one that fires 18-gauge Brad nails.
Step-by-Step Base Cabinet Assembly
The written version of Patrick’s walkthrough, one step per section. Every step is open — use the bar below to jump.
How to Prepare the Face Frame
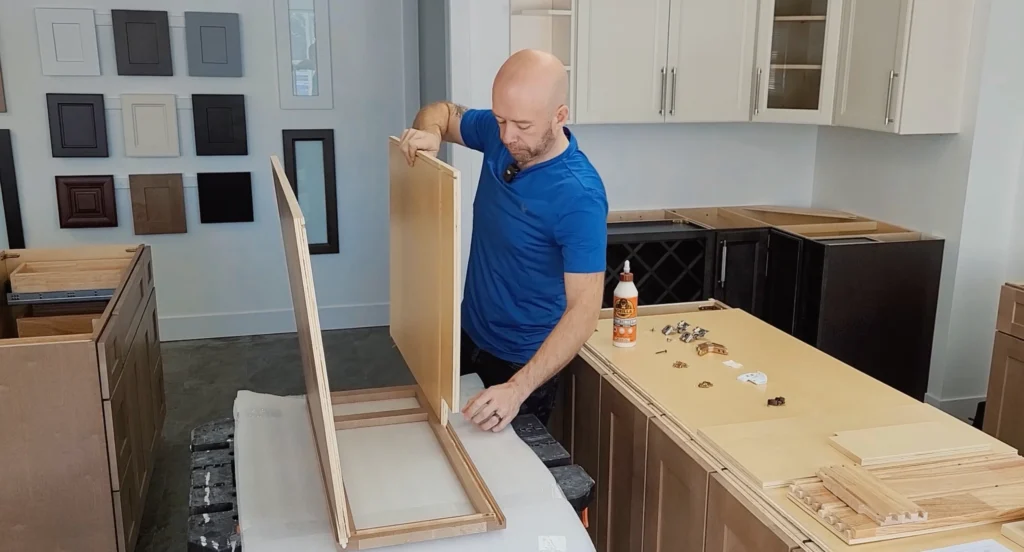
Lay a piece of packing cardboard on your work surface to protect the finished face frame. Place the face frame face-side down. Run a bead of wood glue along the channels, then carefully slide the gable side panels into the sliding dovetail joint, aligning the tail with the groove inside the face frame.
*Important note, if one or more of your cabinet sides are finished matched, discard the unfinished panel and install the desired finished side at this time. You may also finish your gable sides by applying a ¼” veneer panel directly on top of the unfinished panel.
How to Install the Cabinet Bottom
Apply a small amount of wood glue to the face of the cabinet frame where the bottom panel will sit, then drop it down into place. Stand the cabinet upright and keep a damp rag nearby to wipe up any glue squeeze-out as you go.
How to Install the Cabinet Back
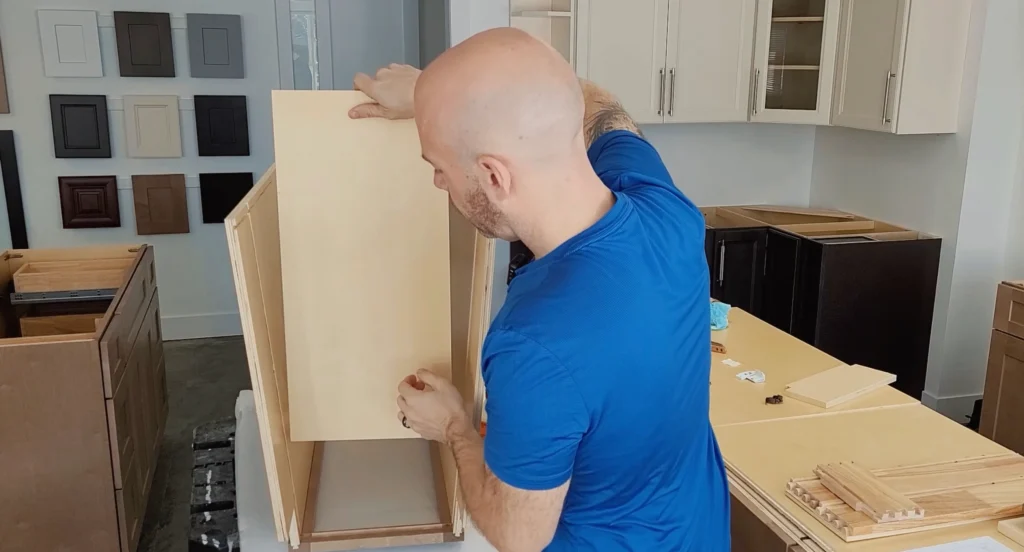
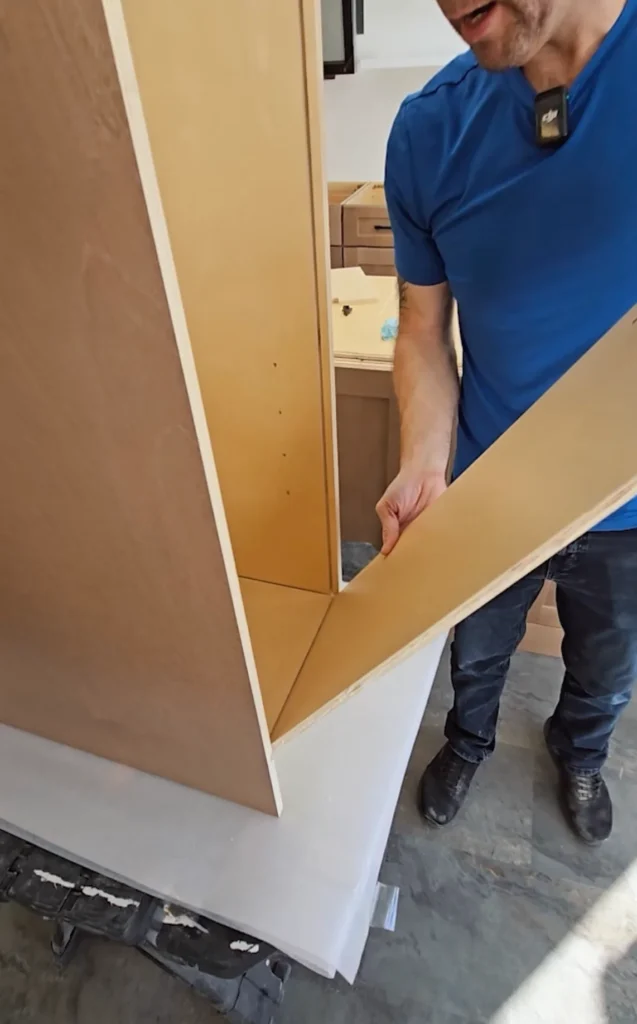
Apply glue into the bottom groove and along the side channels of the back panel. Gently spread the side panels apart just enough to slide the back panel in at a downward angle, hook it onto the cabinet bottom, then lift up and press the sides together. Secure with the long black screw(s) from your hardware pack.
How to Pin Nail the Sides
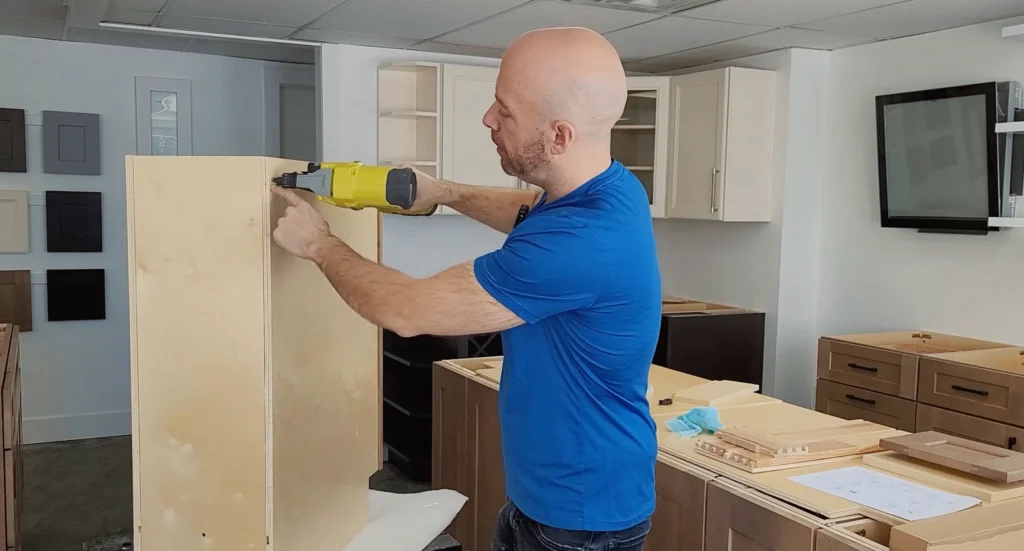
Use your Brad nailer to pin the side panels every 6 inches down the back edge. Hold the nailer sideways (horizontal) so that if a pin bends, it stays within the cabinet wall. For finished side panels, you can skip pinning and rely on the L-brackets alone, or pin and fill the holes later with the included touch-up putty.
How to Attach the L-Brackets
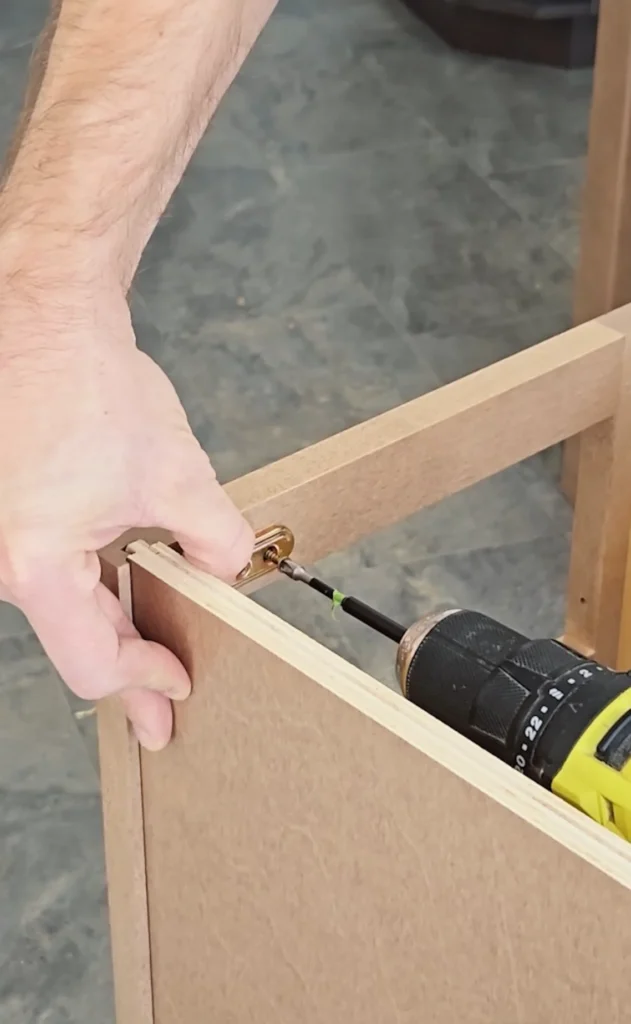
Secure L-brackets to the upper inside front corners, pulling the face frame tight against the sides as you go. Spin your drill in reverse briefly before driving each screw into the face frame to prevent splitting. Flip the cabinet upside down, attach the lower L-brackets and toe kick, and use any bonus brackets on the back corners for extra rigidity.
How to Assemble the Drawer Box and Slides
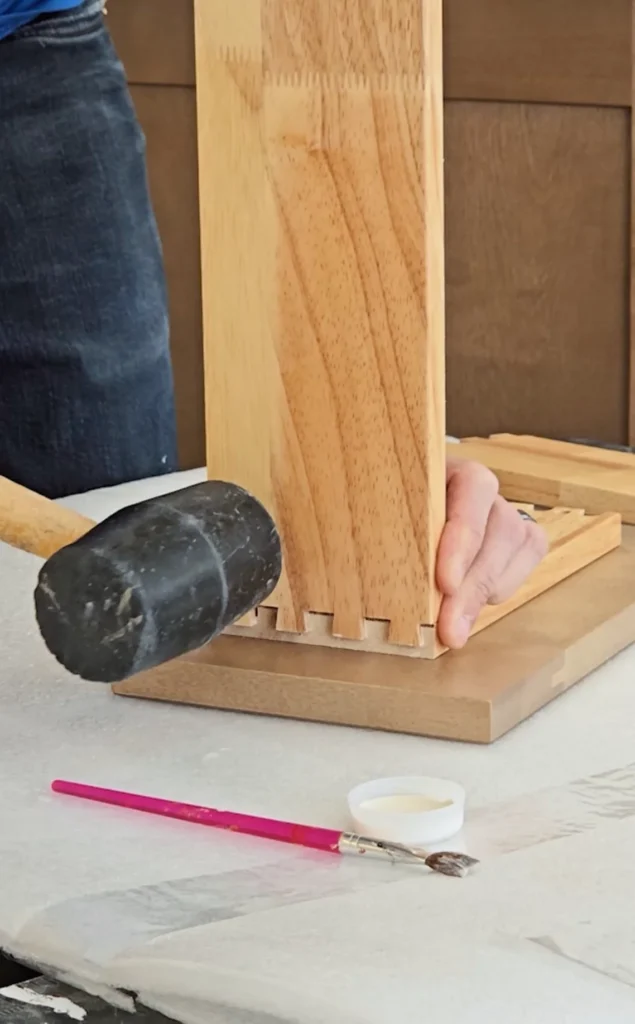
The drawer box uses a dovetail joint system for a strong, and beautiful connection.
Align the pieces and press them together evenly — avoid excess force.
- Brush or apply a dab of glue onto each dovetail on the drawer front. Align the drawer side and gently tap it into place with a rubber mallet, working back and forth evenly. Stop the moment the joint is flush — don’t overdrive.
- Repeat for the drawer back. Once in, check the bottom is still square and adjust if needed. Brad nails can be used to secure the joint if time is urgent.
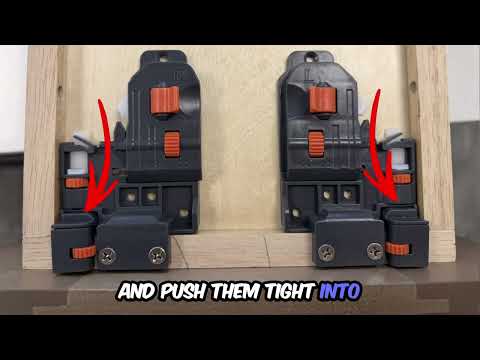
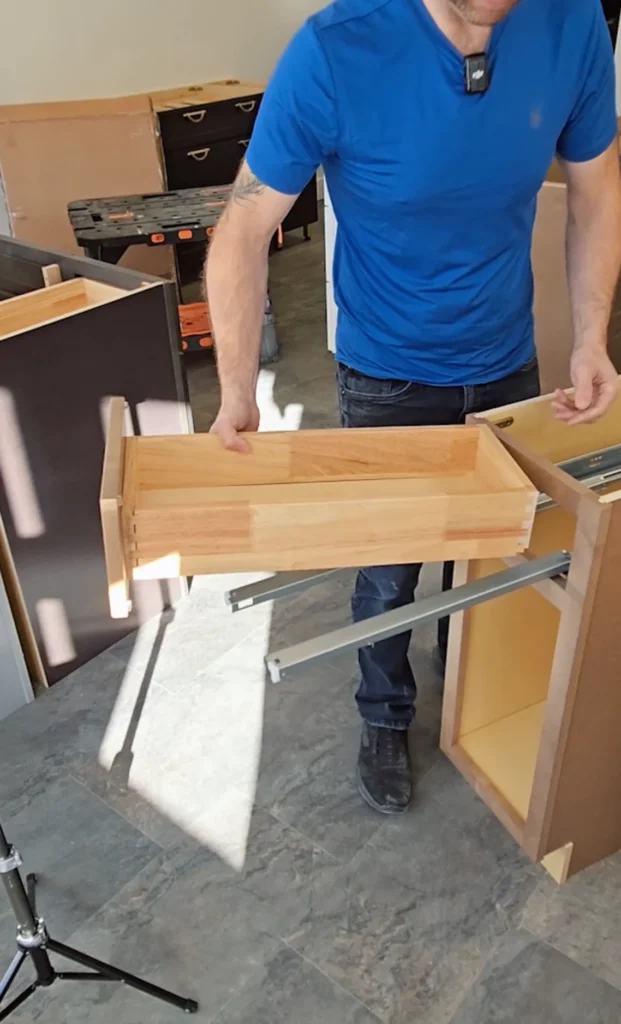
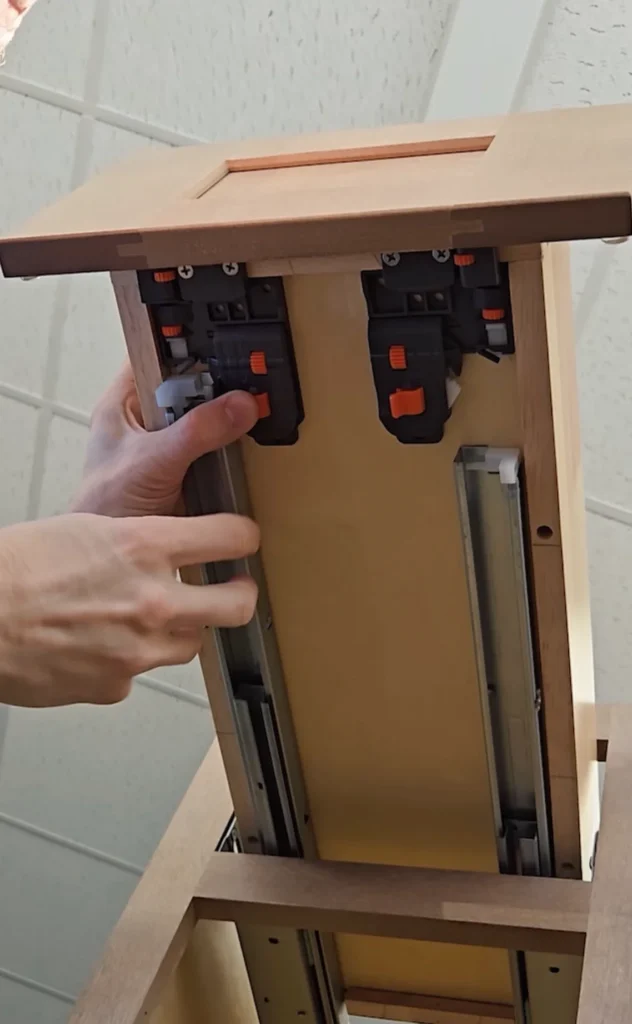
- Attach the drawer adjusters to the bottom (mind the left/right markings). Screw on the drawer slides and mount them to the cabinet back panel.
- Install rubber bumpers on all four corners. Slide the drawer in, aligning the back hole with the silver tab until you hear it click.
To remove the drawer later, pull the orange release tabs on each slide.
How to Install the Cabinet Door
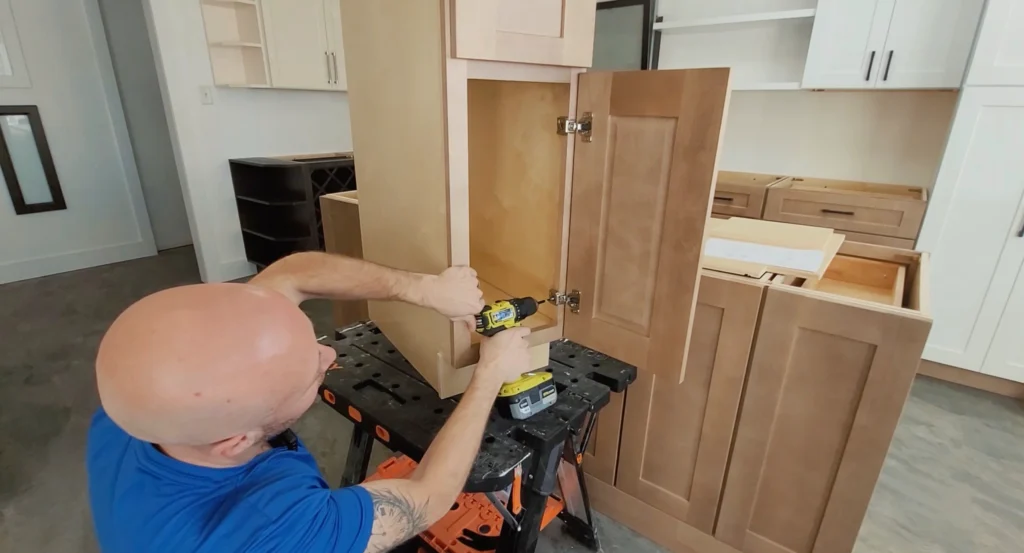
The face frame is pre-drilled on both sides so the door can open left or right. Attach the hinges to your chosen side using large panhead screws, leaving slight play for adjustment. Align the door with the hinges, press it in, and screw it to the hinges. Finish by pressing rubber bumpers onto the door interior.
Finishing Touches: Shelf, Toe Kick & Pin Holes
Insert the shelf clips into the cabinet walls and set the shelf in place. After the cabinet is installed, cut the toe kick to length and pin it in position.
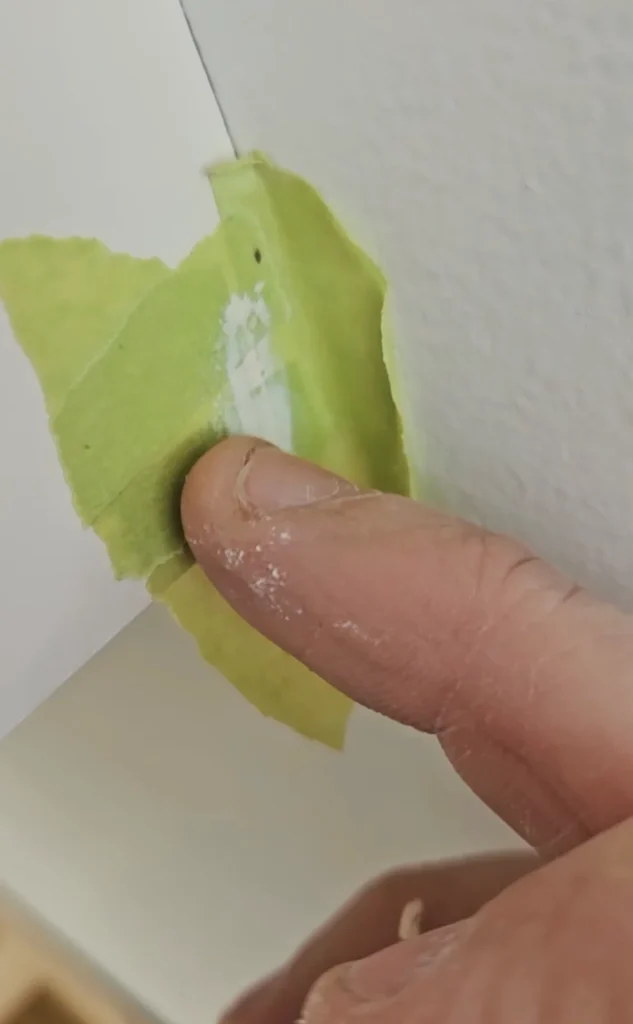
Every BluePrint Cabinets order includes a touch-up kit. For finished side panels with pin holes:
- Mask around each hole with small pieces of masking tape.
- Shave off a small piece of colour-matched putty, warm it in your fingers, and rub it into the hole.
- Peel off the tape and wipe with a damp rag. Standing back, the holes virtually disappear.
Cabinet-Specific Assembly Videos
Your cabinet is different? Start here. These nine short walkthroughs cover the trickiest boxes — tap any card to play it right here. Videos courtesy of our cabinet manufacturer.
Base Cabinet
Drawer Base
Sink Base
Blind Corner Base
Lazy Susan
Tray Base
Wall Blind Upper
Fridge Upper
Wine Rack
Find Your Exact PDF Instructions
Your PDF is the source of truth for your exact cabinet. Search by cabinet code — or browse by cabinet type below. 75 printable guides.
No guide matches that code. Ask our team and we’ll send it to you.
Need Help With Your Cabinet?
Call the showroom at (506) 300-1234 or send us a photo — we’ll walk you through it.
Cabinet Assembled? Here’s What’s Next
Six links to keep you moving — tap any card.
Cabinet Assembly FAQs
The questions our customers ask most often once the boxes are open.
Do I have to assemble the cabinets myself?
BluePrint Cabinets are ready-to-assemble (RTA), so they do need to be put together before installation. You can assemble them yourself, hire a contractor, or use one of the installers on our referral list. Every cabinet has both a video walkthrough and a printable PDF guide.
What tools do I need to assemble a cabinet?
A drill with a Phillips bit, a utility knife, wood glue and a small brush, a rubber mallet, a damp rag, and an 18-gauge brad (pin) nailer with 1¼" brads. The pin nailer is the only tool most homeowners don't already own — they're widely available for around $150, air or electric.
How long does one cabinet take to assemble?
Most boxes take about 10–15 minutes once you have your parts laid out and your hardware sorted. Sorting the hardware kit before you start is the single biggest time-saver.
What is the difference between the A box and the B box?
Most BluePrint cabinets ship as two boxes. The Universal (B) box is the carcass: AA-grade plywood sides, back panel, cabinet bottom, toe kick, shelf, drawer box, drawer slides and the full hardware kit. The Finish (A) box holds the parts you see — face frame, door, drawer front with pre-cut dovetails, and any finished end panels for your style.
Where do I find my cabinet code?
Your cabinet code (for example B24, W3630 or VSD3621) is printed on the box label and listed on your quote. Enter it in the search box in Find Your Exact PDF Instructions to get the printable guide for that exact cabinet.
One of my cabinet sides needs to be finished — when do I install it?
During step 1, before the box goes together. If one or more of your cabinet sides are finish-matched, discard the unfinished panel and install the finished side at that point. You can also finish a gable side by applying a ¼" veneer panel directly over the unfinished panel.
What if a part is missing or damaged?
Check your order over when it arrives, then call or text the showroom at (506) 300-1234 with your cabinet code and a photo. We'll sort out the replacement part and point you to the right instructions.
Do you install the cabinets?
No — BluePrint Cabinets is supply-only, so we don't install. We keep a list of local installers and contractors our customers have used, and we're happy to point you toward one.